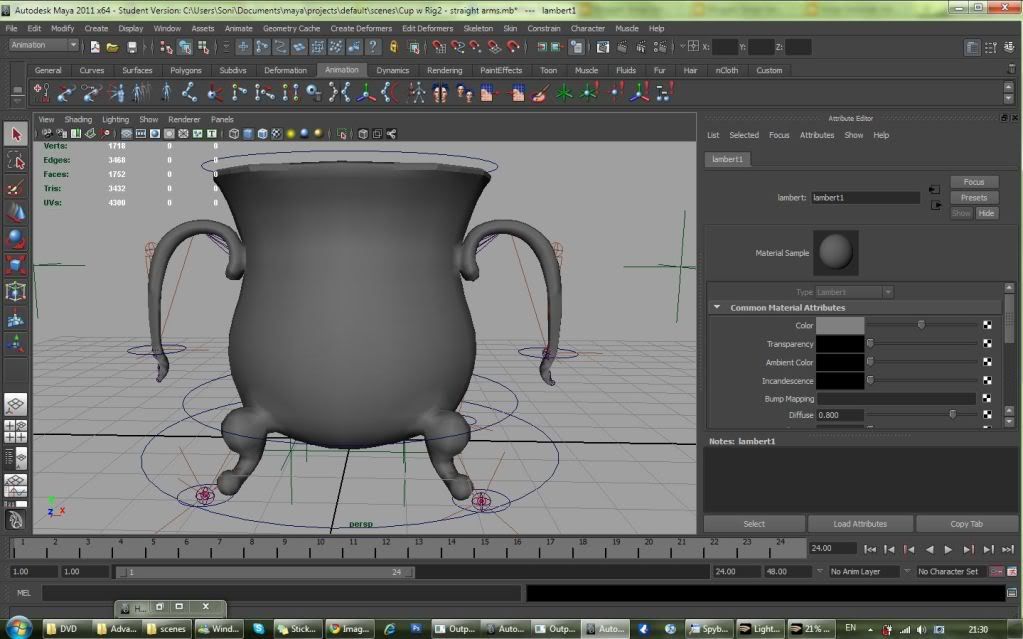
So I remodelled the arms straight to his sides. I put a keyframe on the first frame and on frame 24. I straightened the arms at frame 24 so that they would be curled at frame 1 when bound, making that the binding pose. I am not yet sure if that worked as I am having lots of other simultaneous troubles.
Here is a picture of the remodelled character:
As I was ahead and had plenty of time to figure out how best to skin my character, I might have spent too much time playing with it when I hadn't applied my texture yet, ergo had to redo the skin all over. I fiddle with it too much, going into detail when I didn't have, just because I had fun doing it. This might have not cost me time but a lot of effort that I had to redo after applying the texture.
On the other hand it gave me the chance to really understand the interactive skin bind tool as well as the paint skin weights tool. Also, I was able to run into problems and solve them well ahead of time before it proved any sort of threat for my project. At first I was drawn to the interactive skin bind tool more than the paint skin weights tool, because working with the envelopes was much more clean and straightforward. The paint weights always seemed messy and inaccurate. It turned out, however, that the the interactive bind can only get you so far. It's not as detailed as the paint weight, although precise and less fiddly. Also, it has a major bug which only lets you access it throughout one session. After you close Maya and open the scene again it will crash every time you try to access the interactive bind. From this point on you will only be able to use paint weights.

When creating the texture I decided against the patterns on he cup as originally planned. They were supposed to symbolise eyes. Instead of animating those I wanted to have protruding eyebrows which I was going to animate using blend shapes. While creating the texture I realised that the expression would not come across well and it would look cheap if the character had eyes (even if they were only symbols emphasised in colour) that didn't move or change expression. Instead I decided to have the rim of the cup be the eyebrows expressing the emotions. This also relieved me of the need to change the basic mesh of the model and having to add the protruding eyebrows.
I have also run into some difficulty painting the weights on my laptop at home. It only seems to show them in black and white instead of a full colour range, even though I have the colour display ticked.

No comments:
Post a Comment